
Here's what I used....

- Premo Accents Gray Granite Polymer clay (I used half of this 2 oz. block)
- Various clay tools (Bead reamers, etc... anything you can use to add detail or a pattern to your bangle)
- Wax paper (to cover my work surface)
- Tape (to hold the wax paper down flat on the table and prevent it from moving around)
- X-Acto Knife (PLEASE be careful when using any blades!)
- Latex gloves (to prevent leaving fingerprints and skin oils on the clay)
- You will also need an oven to bake the clay in and a cookie sheet or aluminum foil (designated specifically for clay baking and NOTHING else. DO NOT re-use tray for food items.)
Once you've got your materials together, tape a square of wax paper onto your clean work surface. I usually do roughly a 12" X 12" square to leave myself enough room to roll the clay out.

Before you tear the wrapper off your clay, take note of the baking time and temp listed on it. Some brands have different temps and times, so DO NOT go by what mine says. Follow the time and temp listed on your clay to avoid under/over baking it.

Take the wrapper off, and put your gloves on. Then, start kneading your clay until it is soft and pliable. Depending on your clay, this will take anywhere from 2-10 minutes. The drier your clay is, the longer it will take to be conditioned.

Once your clay is soft and pliable, begin rolling it between your palms to form a snake.

Once I've rolled it between my palms and it starts looking like the picture below, I start rolling it with one palm against the wax paper on the table so that I can even it out and make sure there are no lumps or that one end isn't thicker than the other.

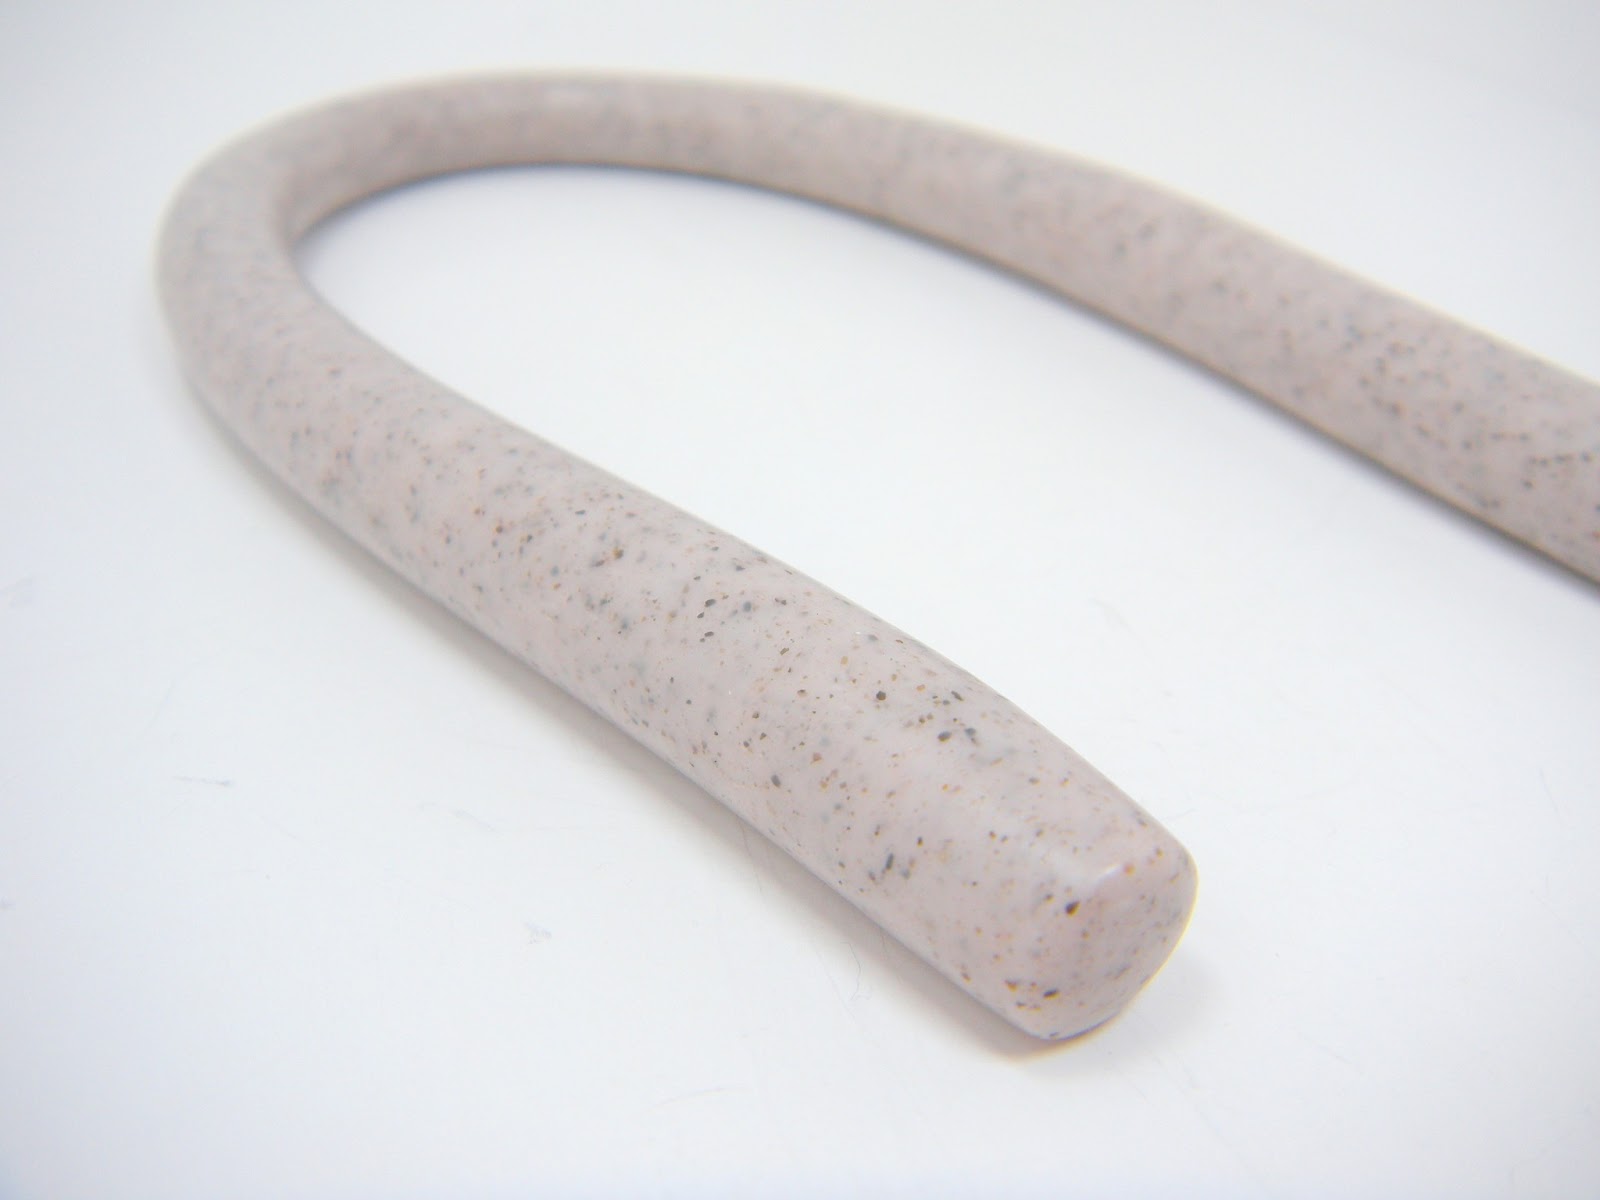
Continue rolling it out until you have a snake about 1/4" in diameter, like the picture below:
Now you are ready to begin forming the bangle into its' shape. For a size reference, I used a resin bangle mold and laid my clay snake right on top. I know not everyone has one of these, so use something with a round shape like a jar or canister that's about the size you're looking for.

Cut the excess clay off with your X-Acto knife where the ends overlap.

Now, smush the ends of your snake together gently, and rub your (still gloved) finger up and down the crease until you can't see it anymore. This may take a little practice, but the great thing about polymer clay is, if you screw it up, you can always mush it back into a ball and start again.

This is what your bangle should look like now that the crease has been rubbed out. Seamless!

Now, use your creativity to create a pattern or design of your choice! For this bangle, I decided to use my X-Acto knife to gently carve small chunks off the surface of the clay.


I continued carving all the way around the bangle until it looked like this:

Make sure you flip it over and carve the other side, too!

Now that both sides are carved, your bangle should look like this!

Once your finished carving or putting a pattern on your bangle, bake the clay on your cookie sheet, and don't forget to follow the baking directions on YOUR clay.
I baked mine at 275 degrees for 25 minutes.
Here's what the set I made looks like after baking:

After they bake, let them cool. If your bangles have rough or scratchy edges, a little light sanding with a small piece of sandpaper or a nail file should do the trick!
And here is the set after sanding. There isn't much of a difference in the pink and granite bangles, but the black bangle has lighter edges around where I carved, and I love the effect!


Now you're finished and can wear the new accessories that YOU created!
This is another bangle that I made, turned out pretty damn cute!

Have fun!!!
P.S.: If you don't want to do the work creating the bangles, check back here! I will be listing a few sets of clay bangles on my shop, BaubleHeadz soon!!
xoxo,
Meagan
Thanks for the great step-by-step instructions. Now to go make some bangles!
ReplyDeleteWow, perfect. Fortunately, I found your website!
ReplyDeleteThanks for sharing! Swarovski Outlet