Showing posts with label project. Show all posts

12.29.2011

Doodle time!

I've been making tons of these doodle drawings lately. I got the idea from a random blog of a 4th grade art teacher. If a 4th grader can do it, so can you! :)


Here's what you'll need: 
black Sharpie, colored pencils, paper, sharpener.

Start by drawing a wavy line across the paper like this. Don't make your hills too big.


Make 8 dots along the line. They don't need to be spaced evenly, do it however you like. 


From there, start to connect the dots. Don't worry about it being perfect. You can also camp out in certain areas to make them bigger or avoid them to make them smaller, which gives it more of an optical illusion type of effect. 

here you can see what the beginning of the design
should look similar to.
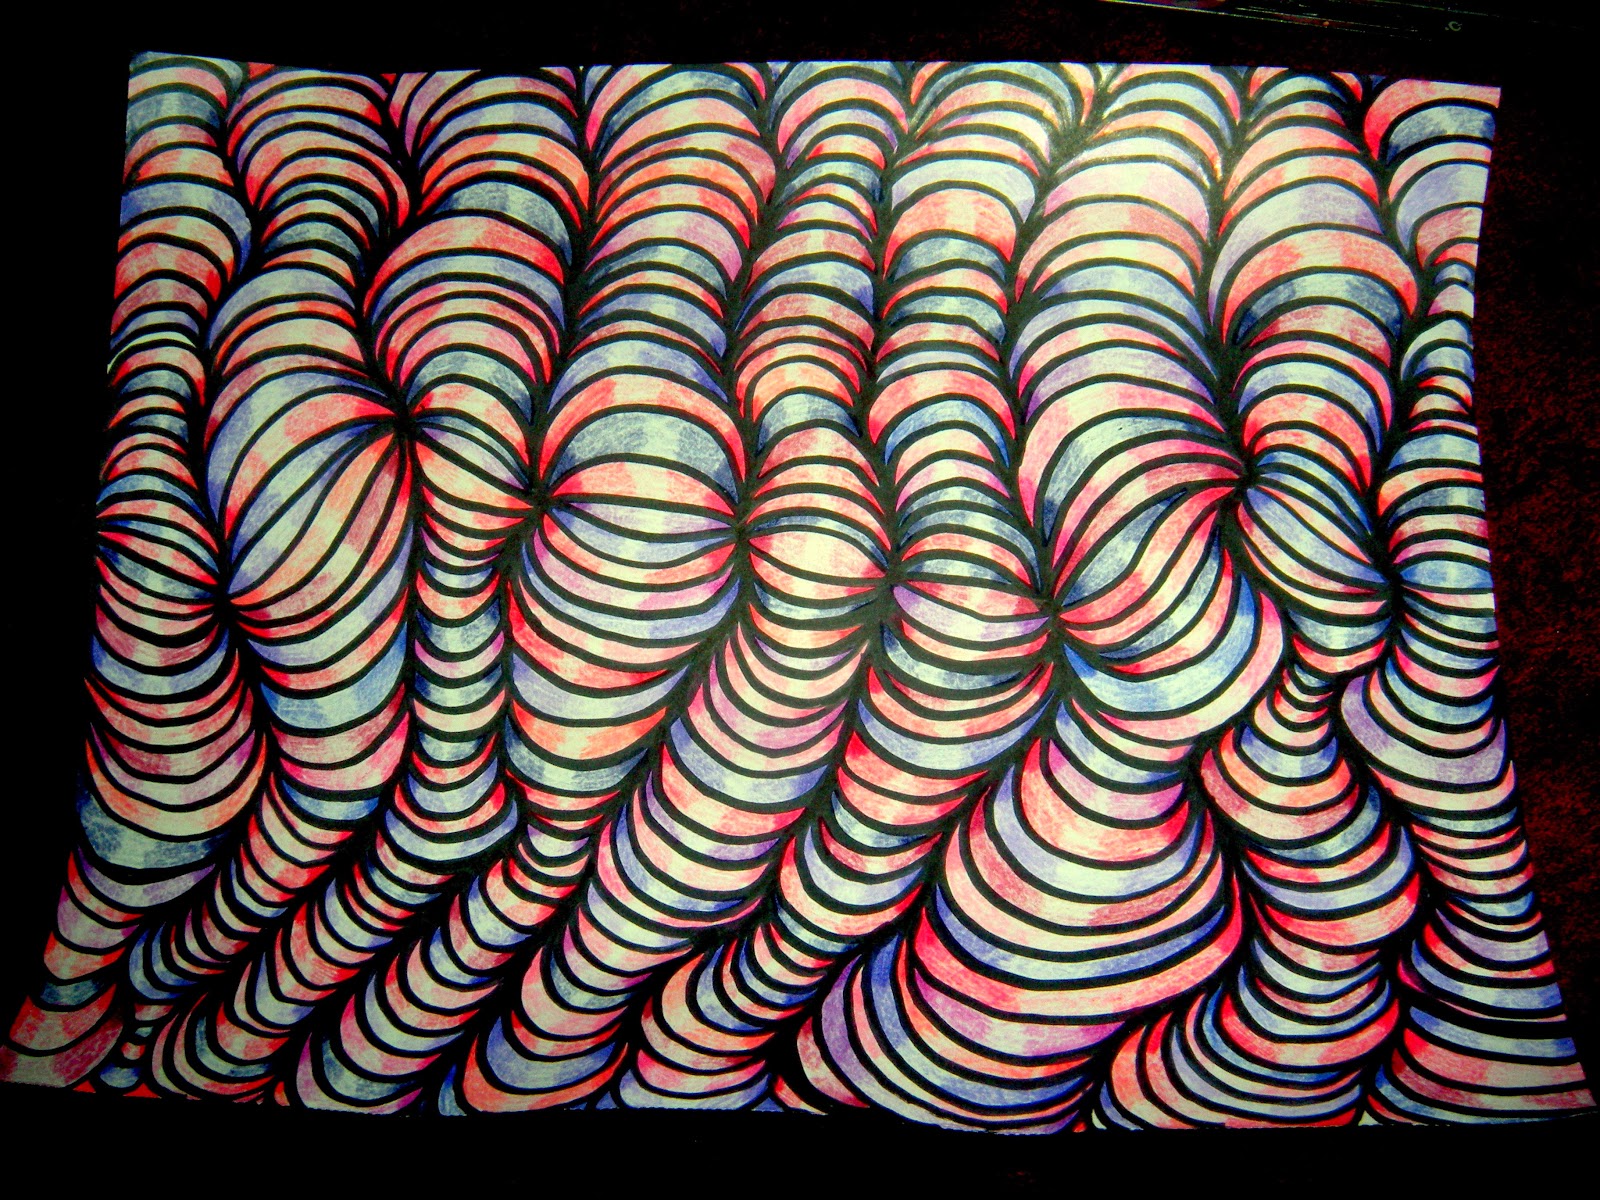
After you fill up the entire page, it should look a little something like this: 


Now you can start coloring the sections in. Pick colors that go well together. I chose different shades of browns, reds, and greens for this one, since it was a special request. 


When you color in the sections, to give it a more 3D effect, you want to press harder with the pencil in the corners and lighten it as you get towards the middle. 


 Once you're finished coloring it in, it should look just as awesome as this! 


Have fun! :)

12.18.2011

Christmas Ornaments!

Update: I know I posted the other day about my grandpa and his failing health, well, this morning Charles Kenneth Lane passed away peacefully in his sleep. He will be missed terribly by his friends and family. R.I.P Grandpa Lane. 
It has been such a sad day, and Shane went to work this morning so I haven't really had anyone to talk to. So, instead of lying in bed and grieving all day, I decided to do some creating to get my mind off things. 


Today, I made Christmas ornaments. This is a great project for kids and adults alike, and very inexpensive!


I started off using these materials: 

paper towel roll, elmer's glue (i eventually switched to my hot glue gun)
glitter, a pen, scissors, ruler, clothespins, Mod Podge

First, cut the paper towel roll into quarter-inch strips. 


Once it is cut up, glue the strips together forming a star. Now, I tried each ornament out a different way. First, I just used Elmer's Glue... if you're using Elmer's glue, make sure that you use the clothespins to hold the pieces together in the star shape until it dries. (I also did a few with my hot glue gun, and that worked MUCH MUCH BETTER and I didn't have to bother with the clothespins. BUT if you don't have a hot glue gun, Elmer's is fine. 


After the glue has dried, remove the clothespins.


Then, spread Mod Podge all over the inside and outside of the star.
Once it's covered in Mod Podge, cover it in glitter. 


After glitterizing it, set it somewhere to dry. (should take anywhere from 20-45 mins depending on how thick you put the Mod Podge on.) 

DRY, you bastards, DRY!

After it is dry, add a piece of string or an ornament hook and you've got yourself a pretty, sparkly new ornament!


Have fun!