Showing posts with label sharpies. Show all posts

12.29.2011

Doodle time!

I've been making tons of these doodle drawings lately. I got the idea from a random blog of a 4th grade art teacher. If a 4th grader can do it, so can you! :)


Here's what you'll need: 
black Sharpie, colored pencils, paper, sharpener.

Start by drawing a wavy line across the paper like this. Don't make your hills too big.


Make 8 dots along the line. They don't need to be spaced evenly, do it however you like. 


From there, start to connect the dots. Don't worry about it being perfect. You can also camp out in certain areas to make them bigger or avoid them to make them smaller, which gives it more of an optical illusion type of effect. 

here you can see what the beginning of the design
should look similar to.
After you fill up the entire page, it should look a little something like this: 


Now you can start coloring the sections in. Pick colors that go well together. I chose different shades of browns, reds, and greens for this one, since it was a special request. 


When you color in the sections, to give it a more 3D effect, you want to press harder with the pencil in the corners and lighten it as you get towards the middle. 


 Once you're finished coloring it in, it should look just as awesome as this! 


Have fun! :)

12.09.2011

Coasters, coasters, coasters!

A couple of days ago, my friend Brittany reminded me of these DIY coasters that I have been planning on doing for a little while now. Yesterday I went out to Home Depot and got some small square tiles (they are SUPER cheap, between about 16 - 60 cents each). 

I did 4 different sets. 

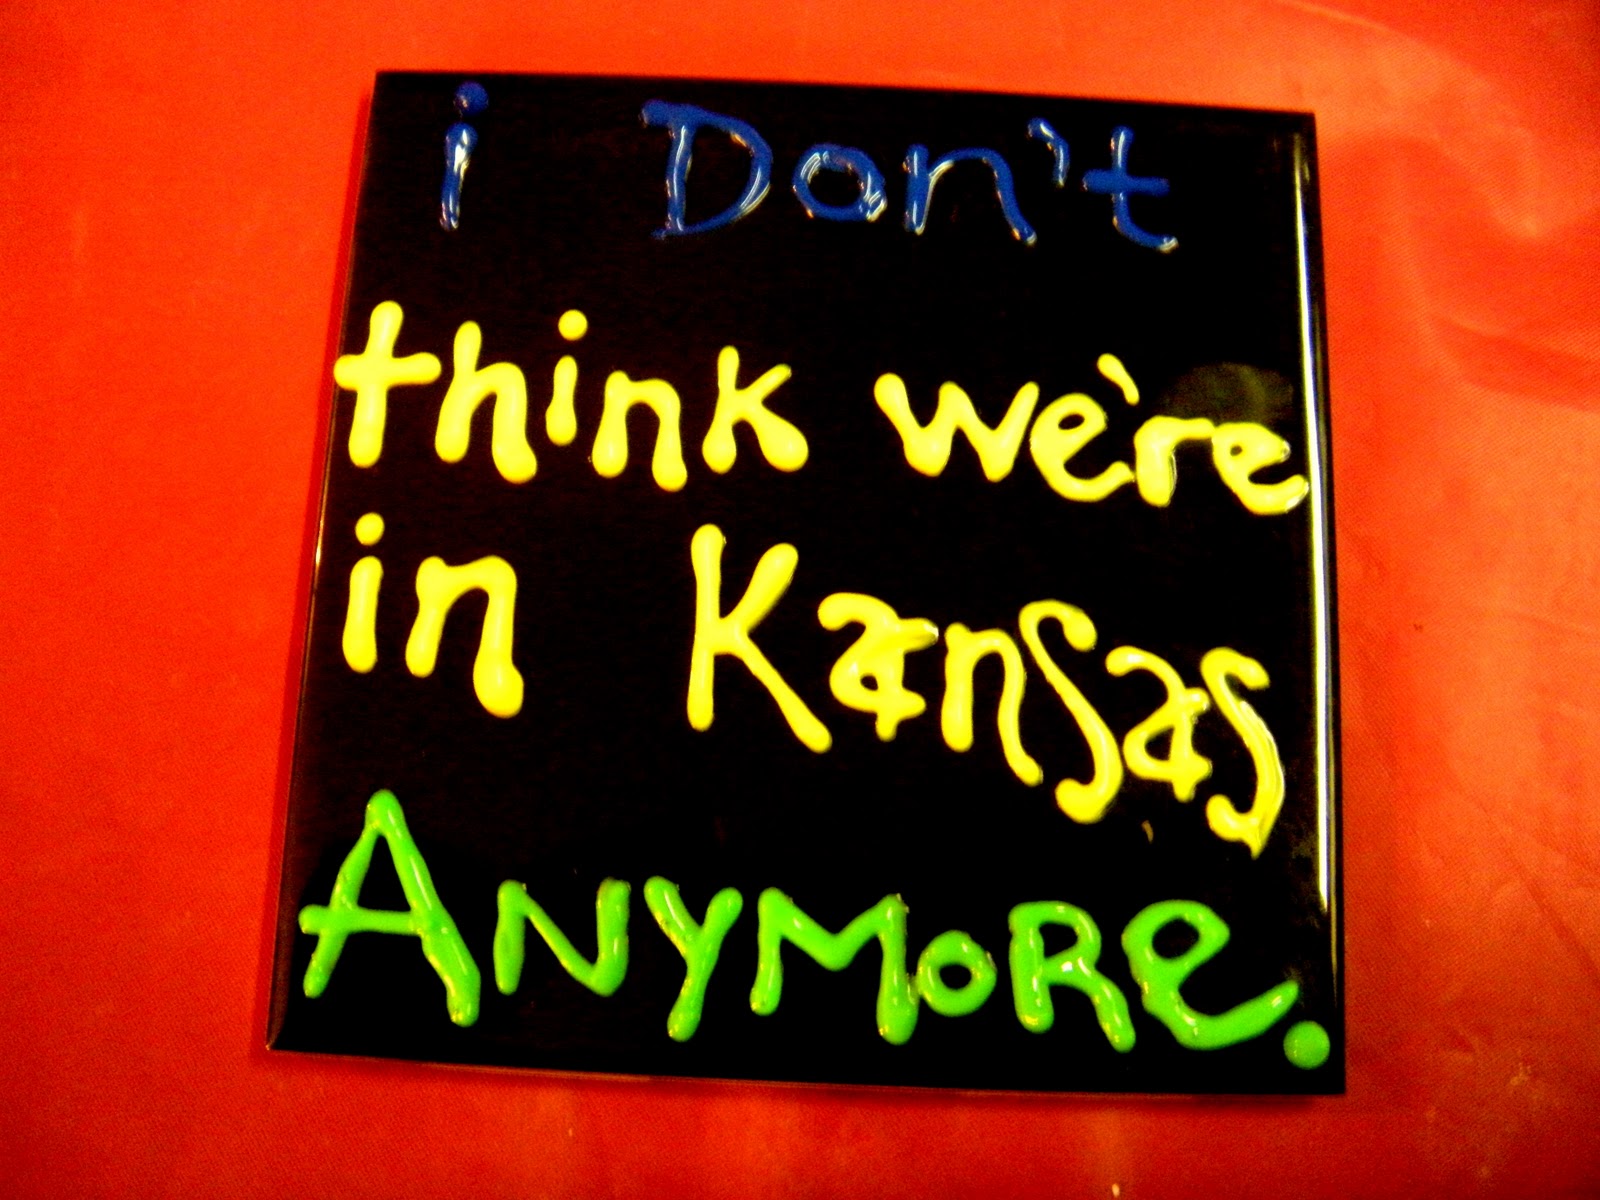
The first set I turned into movie quote coasters. All I used was Dimensional Paint (the puffy fabric paint stuff that comes in the little squeeze bottles). I had to let them dry overnight so they're not COMPLETELY finished yet, but all I need to do to finish them is put a layer of spray glaze over them to seal them up, which I'll be doing today.


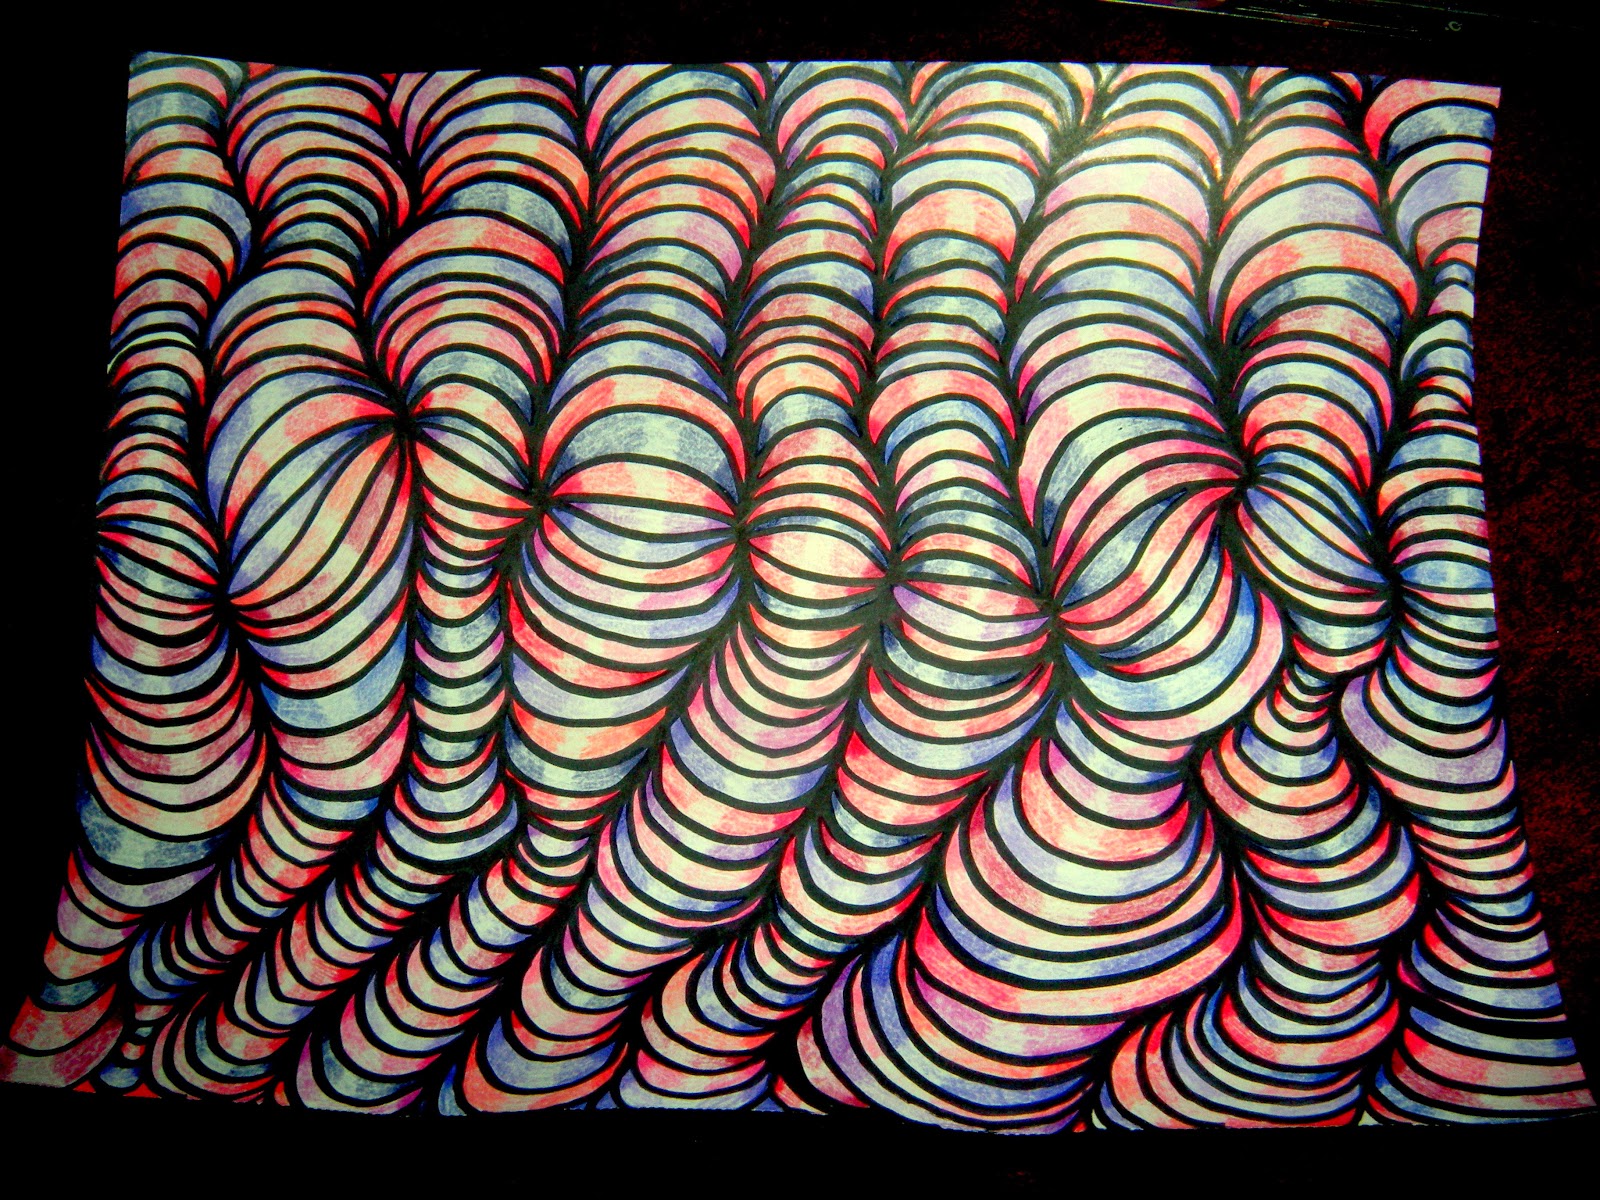
The second set is R.O.Y.G.B.I.V.-inspired. All I did with these ones was draw on the design with Sharpie and then go over it with Mod Podge to give it a little more dimension and then put a layer of spray glaze over them. (Again, will be finishing that part off today.) 


The third set is my glitter coasters... 
To make the glitter coasters, I used these materials: 

tile, mod podge, glitter, spray glaze.
(also used plastic cup and foam brush for the mod podge!!)
I did the coasters pretty much the same way I did my GLITTER SHOES, by mixing the glitter in with the mod podge, then applying it with a foam brush in thick coats onto the tile. (Let tile dry for about 45 mins. between coats).


this was NOT my final coat, I did one more
VERY thick coat of the mod podge mixture on
top of this.
And again, don't worry about the mod podge being white now, it will dry clear and show off the coaster in all it's glittered glory! 
Here is the finished product, after letting it dry overnight:


The fourth set I did yesterday was my paint chip coasters! I saw this idea on Pinterest and had to try it out, since I love cheap crafts. I picked up a bunch of different colored Behr paint chips at Home Depot while I was buying my tiles. 


To make the paint chip coasters, I used these materials: 

mod podge, spray adhesive, scissors, tile, paint chips.
you can go with or without the ruler, i went without.

trace or measure out your square on the paint chip. 

cut out the square....

spray adhesive on the back of the paint chip card,
then press firmly onto the tile. make sure it's centered,
and all edges are pressed down. 

after adhesive is dry (just takes a few minutes),
brush about 3 coats of mod podge onto the coasters
and around the edges of the tile, just to seal it up. 

finished set! 
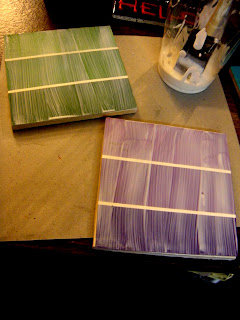
As you know, while I wait for things to dry, I work on other projects. Last night I jazzed up a cute little box I bought for a couple bucks at Michaels. 


There was an inset square on the lid, so I decided to use some more of that striped tissue paper I used on the glass votive in my previous post...here's what I did step-by-step. 

Painted the box with two coats of orange acrylic paint.
Cut out tissue paper to match the measurements of the square on the lid
Sprayed adhesive onto where I wanted the tissue paper
Pressed the tissue paper onto it
Let it dry (give it a few minutes) 
3 coats of Mod Podge to the tissue paper
1 coat of enamel gloss to the orange painted parts


After all that crafting last night, I came out of the garage (my workspace) to find out it had snowed finally! Very lightly, of course, but hey, snow is snow. 


Oh, and I finally got a picture of my Skyrim character. Not the greatest picture quality, but still pretty awesome, no? 


That's all for today, have fun with this cheap craft idea! 

12.08.2011

DIY craft overload!

Yesterday, I was in the zone. I stayed up until 3AM, in the garage, crafting. How do I get away with this while living with my boyfriend, you ask? Well, he gets to play video games while I craft, so he welcomes craft time with open arms. 

he's in the zone too.

Lately he's been playing Skyrim, which is actually a pretty awesome game. I have been watching him play, and I finally gave in and started playing briefly the other night (mostly just created my character), and I'm so proud of her, because she looks like a total bad-ass. I tried to get a screenshot of my character to put on here and show you but for some reason it won't work! Oh well. 


Anywho, back to crafts... 
I went PAINT CRAZY yesterday. 


Shane's mom had given me a bunch of these small 5'' x 7'' canvases to work with, so I put them to good use and made this cuteness:

I also painted these adorable little glass votives that I bought for $1/each at Wal-Mart. I just used acrylic paint, a steady hand and a tiny paint brush. 

this one reminds me of autumn trees. :)

fiestaaaa!

for this one, i did the rubber band/spray paint trick, and
hand painted yellow zig-zags where the rubber bands were.

polka dots!


While I'm still talking about these glass votives, I've got a tutorial for you! 


With one of my glass votives, I decided to do something different. I have been wanting to use my Mod Podge lately, and I saved a bunch of tissue paper from my birthday gifts this year, so I figured, why not decoupage a votive? 


Here's what I used: 
tissue paper, foam brush, plastic cup, scissors, votive,
mod podge, spray adhesive.
First, I measured the height of the votive and cut about 3 strips of tissue paper, the length of which match the height of the votive. 
Now, if it were a solid color tissue paper, I would have just cut one long strip and wrapped it around, but since these votives are just the slightest bit tapered the stripes got all wonky and it was way more frustrating to do it that way. This was much easier. Always be aware of your patterns and how they will fit together when doing something like this. 


After getting my strips of tissue paper ready, I sprayed my adhesive right on the glass and placed my strips on it. 
I let the adhesive bind to the tissue and dry on the glass, which only took a few minutes.
After it dried, I used the foam brush to put two coats of Mod Podge on over the tissue paper. (Let each coat dry for at least 20-30 mins.


Once the Mod podge dried, I had a pretty cute new votive to show off! 


Another project I had tonight was another Sharpie Tie-dye shirt. (Sharpie Tie-Dye tutorial). My niece Mackenzie told me that she specifically wanted me to make her a T-shirt, and that she wanted it to include a peace sign. I went ahead and used my pink Sharpies for the tie-dye, let it dry, then cut out a peace sign stencil out of thick cardstock, taped it to the shirt, spray painted it purple, and voila! 
stencil on...

stencil off! 
And while I'm on the subject of spray painting T-shirts, here's a quick DIY T-shirt tutorial...


I took a different approach from the tie-dye when making a t-shirt for Mackenzie's sister and my other niece, Haley. 


Here's what I used: 
clean, white t-shirt, spray paints, duct tape, scissors.
Pin the t-shirt or tape it to a piece of cardboard, and tape off your design. All I did was cut the strips of duct tape into different widths and placed them randomly on the shirt. 


Once you have the design taped off, grab your spray paints and make sure you're in a well-ventilated area or outside. Spray paint the shirt however you like! This is how mine turned out: 

he's convinced himself he's keeping this one.
Pretty damn easy, and the possibilities for this are limitless!


While I wait for things to dry, I like to keep busy with other projects. Once I get going it's pretty hard to stop me. I know you guys are probably getting sick of these, but I made a few more Elmer's glue design canvases. Sorry for the poor picture quality, but here's what I made: 


Coming soon: Creative Coasters, a re-vamped shoe-rack, Christmas ornaments, and homemade lamps!


(P.S. I am very appreciative of everyone who has been checking out this blog, I've had over 10,000 views already, and I've only been actively posting since late October! 
Feel free to comment on my posts to give me feedback, or if you prefer one-on-one communication, you can email comments and craft suggestions to Quirkability@Gmail.com.)