Showing posts with label glitter. Show all posts

2.03.2012

DIY Friday! (3 TUTORIALS!!)

Hey everyone! I hope you were all looking forward to this week's DIY Friday, because I have three quick tutorials to brighten up your weekend!! 


HOMEMADE MOD PODGE


The first of this terrific tutorial trio is Homemade Mod Podge! I've seen this idea floating around the internet, and since I use A LOT of this and don't have A LOT of money to spend on it (It's about $8 for a decent sized bottle!), I figured this was a perfect tutorial to share! 


What you will need: 

  • A Jar with a lid 
  • Elmer's Glue 
  • Water
  • 1-2 tablespoons gloss varnish (optional)
Can you believe that? That's all you need for this project! 

Now, the quantities in which you buy these materials are up to you, it just depends on how much you want to make. Also, any old jar will do, as long as it has a lid. You don't want it to dry out! I just used a spaghetti sauce jar that I had cleaned out and taken the label off of. 

First, fill the jar halfway up with your Elmer's glue. 
Then, fill it the rest of the way up with water! 
When you pour in the water, don't just dump it all in at once. You want to watch out and make sure you don't dilute it TOO much with the water. Just add about 1/4 of the water, put the lid on, shake up the contents in the jar, and then check it. Repeat that until it is the consistency of regular Mod Podge. 

So far, you've made the MATTE Mod Podge. If you want it to be GLOSSY Mod Podge, add in 1-2 tablespoon of gloss varnish. That's it!

I went the extra mile and decorated my jar as well. I used scrapbook paper and cut it into a strip to fit around the jar, and then tried out my new homemade Mod Podge to seal on the label! It has held up just the same as the real Mod Podge would, and I couldn't be happier! 

I also found a baggy full of googly eyes, so I decided to paint the lid of my jar gold and turned it into Mr. Mod Podge at the last second. 

hehehe.


GLOW JARS


The second tutorial I have for you is DIY glow jars! This has been a project I've been wanting to do since I first started my Pinterest account... it was one of the first things I ever pinned! If you are doing this project with a child, make sure that an adult is handling the glowsticks, especially after cutting them. Although it is non-toxic, it shouldn't be digested or anywhere near your nose, mouth, eyes, etc. Also be careful about getting the liquid on fabrics or clothes...pretty much anything other than the paper towel. It can stain it. 

What you will need
  • Jars
  • Glowsticks
  • Scissors
  • Paper towels (to catch any glowstick drippings)
  • Water (optional)
(hint: if you have labels on your jars, warm water and a sponge
will get them off easily!)


 Once you have your materials together, hold the glowstick over the paper towel, and CAREFULLY snip off the end of the glowstick. Try to hold it as upright as possible, so you don't spill any of the glowing liquid.


I know this picture contradicts what I just told you about
holding it upright, but this one had already been drained. :)

After you snip off the end of the glowstick, pour the liquid into the jar and carefully slosh it around a bit. you want to coat the insides of the jar with the glowing liquid. 
I have read elsewhere that adding a bit of water into the jar as well will help the glow last longer.

Finally, put the lid on and VOILA! You've got a glow jar. 

I thought mine looked pretty neat in front of this
wall decoration a friend made me. It's a Fight Club
reference, and it says "I am Jack's smirking revenge"


GLITTER NAILS


My third and final tutorial for today is for glitter nails! This tutorial is by far the easiest, and requires the least amount of materials. 

What you will need: 
  • Glitter
  • Clear nail polish


Start off with clean nails, and one finger at a time, swipe on your clear polish. 
Before the clear coat dries, sprinkle on the glitter of your choice! I chose a dark purple fine glitter that came in this little glitter caddy from Wally World.

Don't be shy with the application of the glitter, you can use a little at the tip of your nail (a favorite style of mine), or you can sprinkle a little at the base of the nail near the cuticle, or you can go all out like I did and do the entire nail! It's up to you!

Once you have done this to all of your nails, and they are dry, shake off any extra glitter that remains, and wipe off any that may have gotten onto your hands/fingers with a damp paper towel or washcloth.

When your hands are clean, finish off with 1-2 clear topcoats and you're all set! 

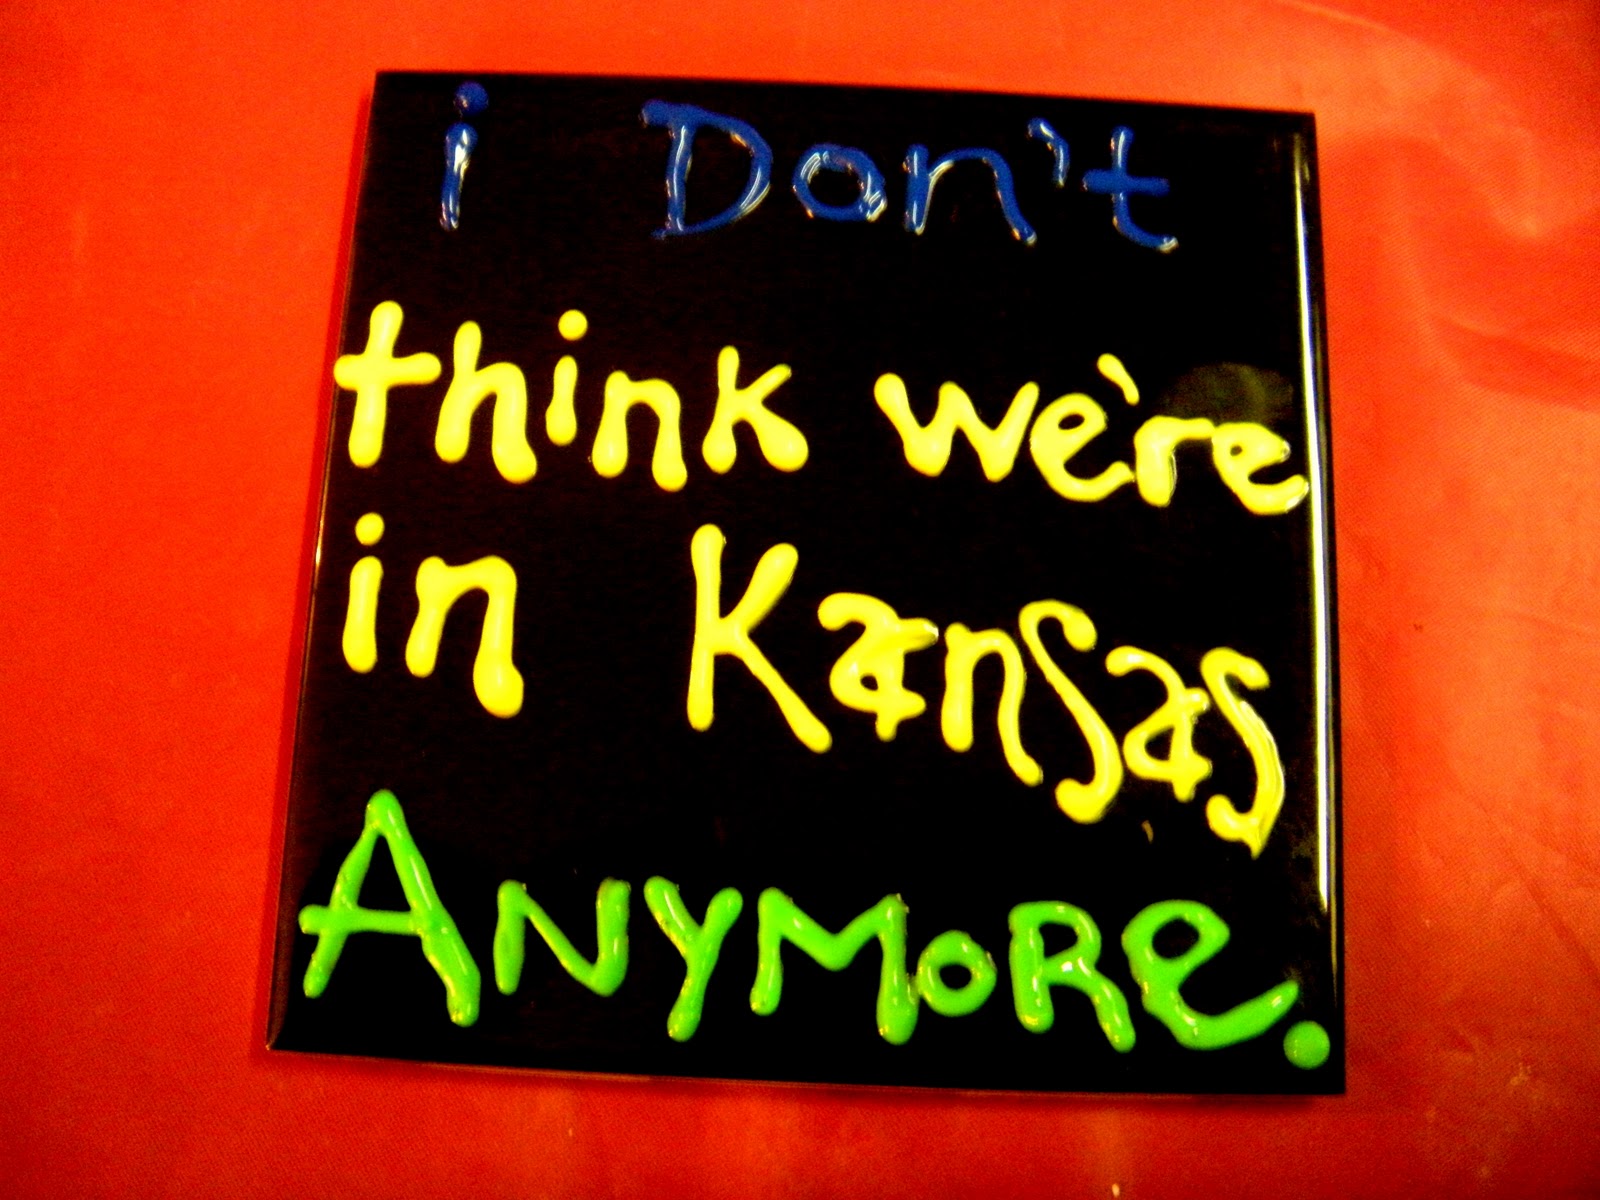
it's clear the mountain dew kicked in as i was preparing this post.


I better see everyone sporting glitter nails this weekend!!


xoxo, 
Meagan

12.18.2011

Christmas Ornaments!

Update: I know I posted the other day about my grandpa and his failing health, well, this morning Charles Kenneth Lane passed away peacefully in his sleep. He will be missed terribly by his friends and family. R.I.P Grandpa Lane. 
It has been such a sad day, and Shane went to work this morning so I haven't really had anyone to talk to. So, instead of lying in bed and grieving all day, I decided to do some creating to get my mind off things. 


Today, I made Christmas ornaments. This is a great project for kids and adults alike, and very inexpensive!


I started off using these materials: 

paper towel roll, elmer's glue (i eventually switched to my hot glue gun)
glitter, a pen, scissors, ruler, clothespins, Mod Podge

First, cut the paper towel roll into quarter-inch strips. 


Once it is cut up, glue the strips together forming a star. Now, I tried each ornament out a different way. First, I just used Elmer's Glue... if you're using Elmer's glue, make sure that you use the clothespins to hold the pieces together in the star shape until it dries. (I also did a few with my hot glue gun, and that worked MUCH MUCH BETTER and I didn't have to bother with the clothespins. BUT if you don't have a hot glue gun, Elmer's is fine. 


After the glue has dried, remove the clothespins.


Then, spread Mod Podge all over the inside and outside of the star.
Once it's covered in Mod Podge, cover it in glitter. 


After glitterizing it, set it somewhere to dry. (should take anywhere from 20-45 mins depending on how thick you put the Mod Podge on.) 

DRY, you bastards, DRY!

After it is dry, add a piece of string or an ornament hook and you've got yourself a pretty, sparkly new ornament!


Have fun! 

12.09.2011

Coasters, coasters, coasters!

A couple of days ago, my friend Brittany reminded me of these DIY coasters that I have been planning on doing for a little while now. Yesterday I went out to Home Depot and got some small square tiles (they are SUPER cheap, between about 16 - 60 cents each). 

I did 4 different sets. 

The first set I turned into movie quote coasters. All I used was Dimensional Paint (the puffy fabric paint stuff that comes in the little squeeze bottles). I had to let them dry overnight so they're not COMPLETELY finished yet, but all I need to do to finish them is put a layer of spray glaze over them to seal them up, which I'll be doing today.


The second set is R.O.Y.G.B.I.V.-inspired. All I did with these ones was draw on the design with Sharpie and then go over it with Mod Podge to give it a little more dimension and then put a layer of spray glaze over them. (Again, will be finishing that part off today.) 


The third set is my glitter coasters... 
To make the glitter coasters, I used these materials: 

tile, mod podge, glitter, spray glaze.
(also used plastic cup and foam brush for the mod podge!!)
I did the coasters pretty much the same way I did my GLITTER SHOES, by mixing the glitter in with the mod podge, then applying it with a foam brush in thick coats onto the tile. (Let tile dry for about 45 mins. between coats).


this was NOT my final coat, I did one more
VERY thick coat of the mod podge mixture on
top of this.
And again, don't worry about the mod podge being white now, it will dry clear and show off the coaster in all it's glittered glory! 
Here is the finished product, after letting it dry overnight:


The fourth set I did yesterday was my paint chip coasters! I saw this idea on Pinterest and had to try it out, since I love cheap crafts. I picked up a bunch of different colored Behr paint chips at Home Depot while I was buying my tiles. 


To make the paint chip coasters, I used these materials: 

mod podge, spray adhesive, scissors, tile, paint chips.
you can go with or without the ruler, i went without.

trace or measure out your square on the paint chip. 

cut out the square....

spray adhesive on the back of the paint chip card,
then press firmly onto the tile. make sure it's centered,
and all edges are pressed down. 

after adhesive is dry (just takes a few minutes),
brush about 3 coats of mod podge onto the coasters
and around the edges of the tile, just to seal it up. 

finished set! 
As you know, while I wait for things to dry, I work on other projects. Last night I jazzed up a cute little box I bought for a couple bucks at Michaels. 


There was an inset square on the lid, so I decided to use some more of that striped tissue paper I used on the glass votive in my previous post...here's what I did step-by-step. 

Painted the box with two coats of orange acrylic paint.
Cut out tissue paper to match the measurements of the square on the lid
Sprayed adhesive onto where I wanted the tissue paper
Pressed the tissue paper onto it
Let it dry (give it a few minutes) 
3 coats of Mod Podge to the tissue paper
1 coat of enamel gloss to the orange painted parts


After all that crafting last night, I came out of the garage (my workspace) to find out it had snowed finally! Very lightly, of course, but hey, snow is snow. 


Oh, and I finally got a picture of my Skyrim character. Not the greatest picture quality, but still pretty awesome, no? 


That's all for today, have fun with this cheap craft idea!